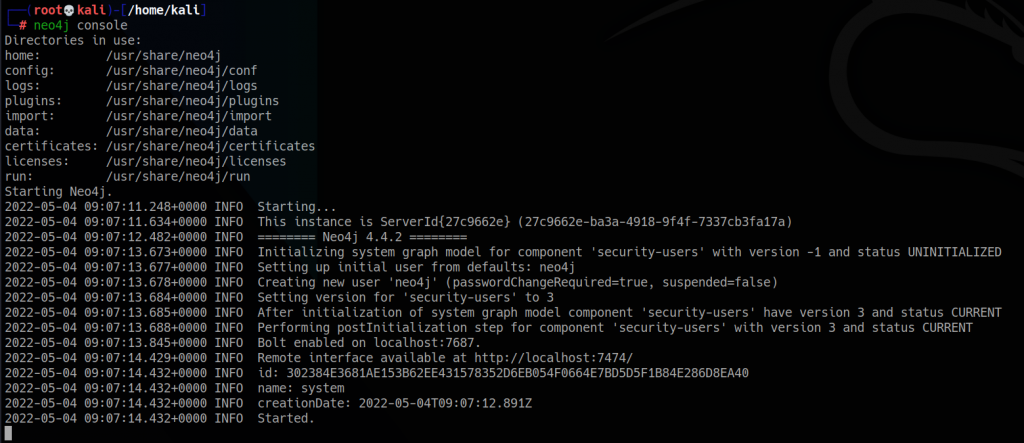
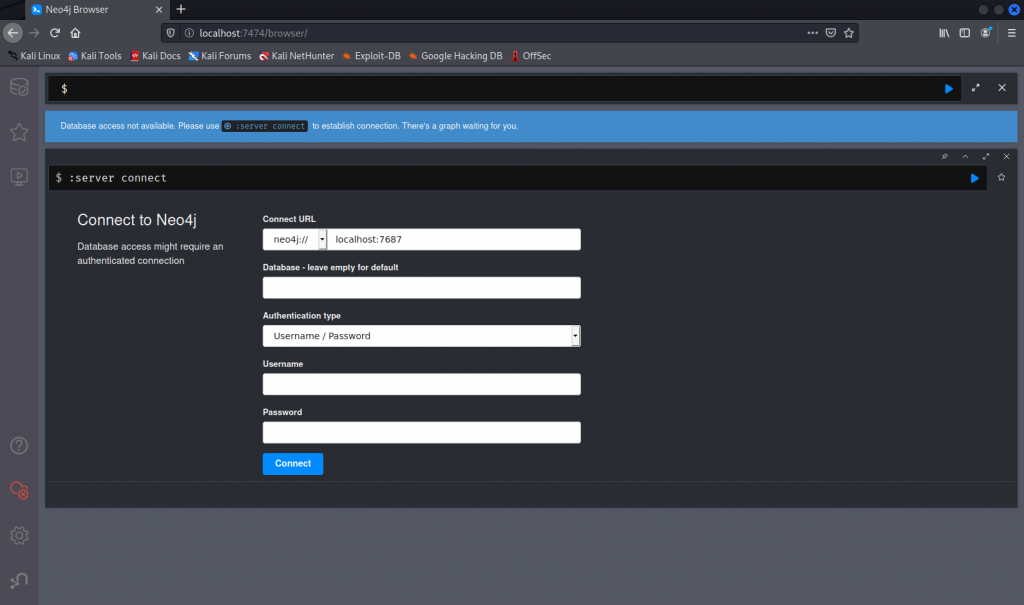
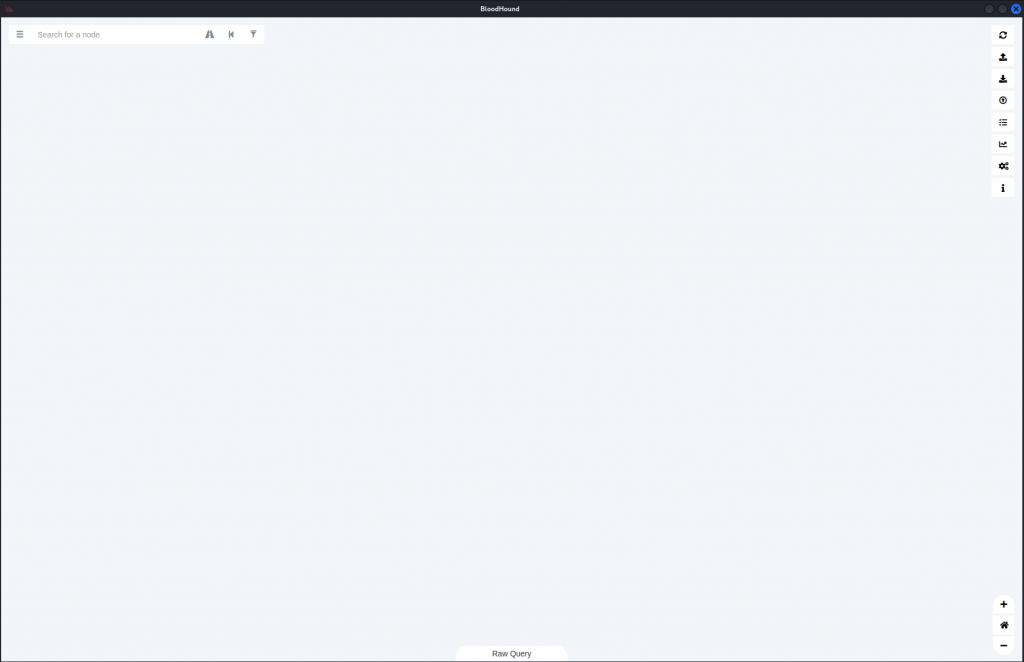
Installing BloodHound on Kali Linux Post author:labda Post published:May 4, 2022 Post category:Hacking / tutorial Let's wrap up the main steps of installing and configuring BloodHound on Kali Linux BloodHound is as a tool allowing for the analysis of AD rights and relations, focusing on the ones that an attacker may abuse.At firtst, please make sure, you are up to date!#apt-get update# apt-get upgradeInstall BloodHound itself:# apt-get install bloodhound Upon successful installation, please run the Neo4j, the database hosting of BloodHound:# neo4j consoleIf you see the “INFO Started” log entry, you are fine, don’t close this terminal window, just open a new one. In the log of Neo4j, you can see a url, where the management dashboard of the database can be reached.Open a browser and navigate to this URL. In my case it’s http://localhost:7474To connect, simply use neo4j:neo4j credentials After connecting, you are being prompted to change the default password. In a new terminal, simply start BloodHound with the following command:# bloodhound The application has started and you have to authenticate with the credential you changed in the previous step. After the successful authentication your BloodHound instance is up and running, and you can start importing your data Tags: hack, hacking, script Read more articles Previous PostHogyan ne légy hülye, ha már az állam nem képes erre? Next PostPartial Local File Inclusion (LFI) You Might Also Like Bugs4Trees Status update / Bugs4Trees friss infó June 22, 2021 Obfuscation techniques June 22, 2021 Buglog#1 June 14, 2021